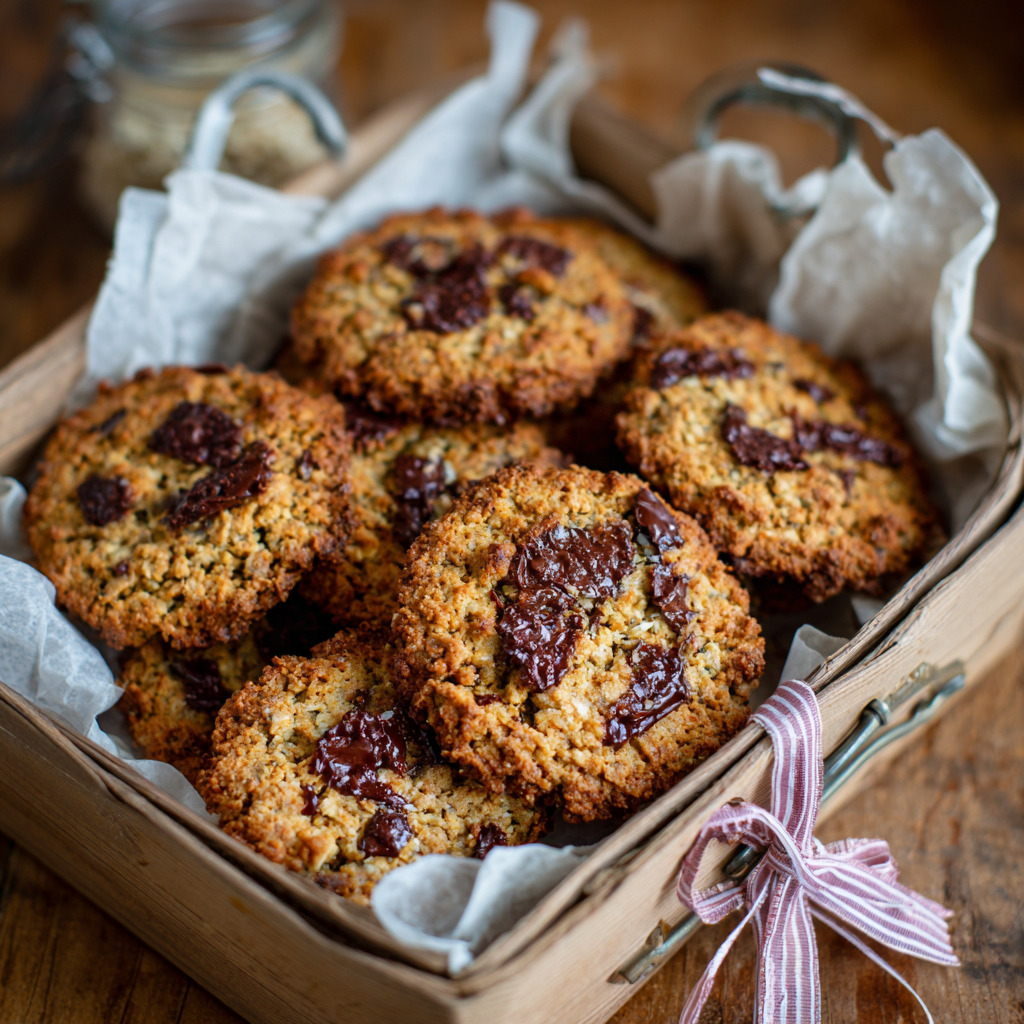
Homemade Granola Bars
Mornings in San Diego often start with sunrise walks—sometimes I need more than just water to set me up. That’s where these homemade granola bars come in. They pack familiar ingredients into a sturdy snack that travels well, fuels your day, and resists becoming a soggy mess at the bottom of your bag.
Making them at home means I control the sweetness, flop in extra seeds, and skip the sugar bombs hidden in store brands. There’s a real satisfaction in slicing perfect squares, wrapping them, and knowing I’ve got a nourishing bite ready anytime.
These bars have become my go-to for ballerinas on board flights, hikers on trails, and whenever I want something crunchy, chewy, and genuinely good inside. They’re reliable, simple, and smart in every bite.
Short Description
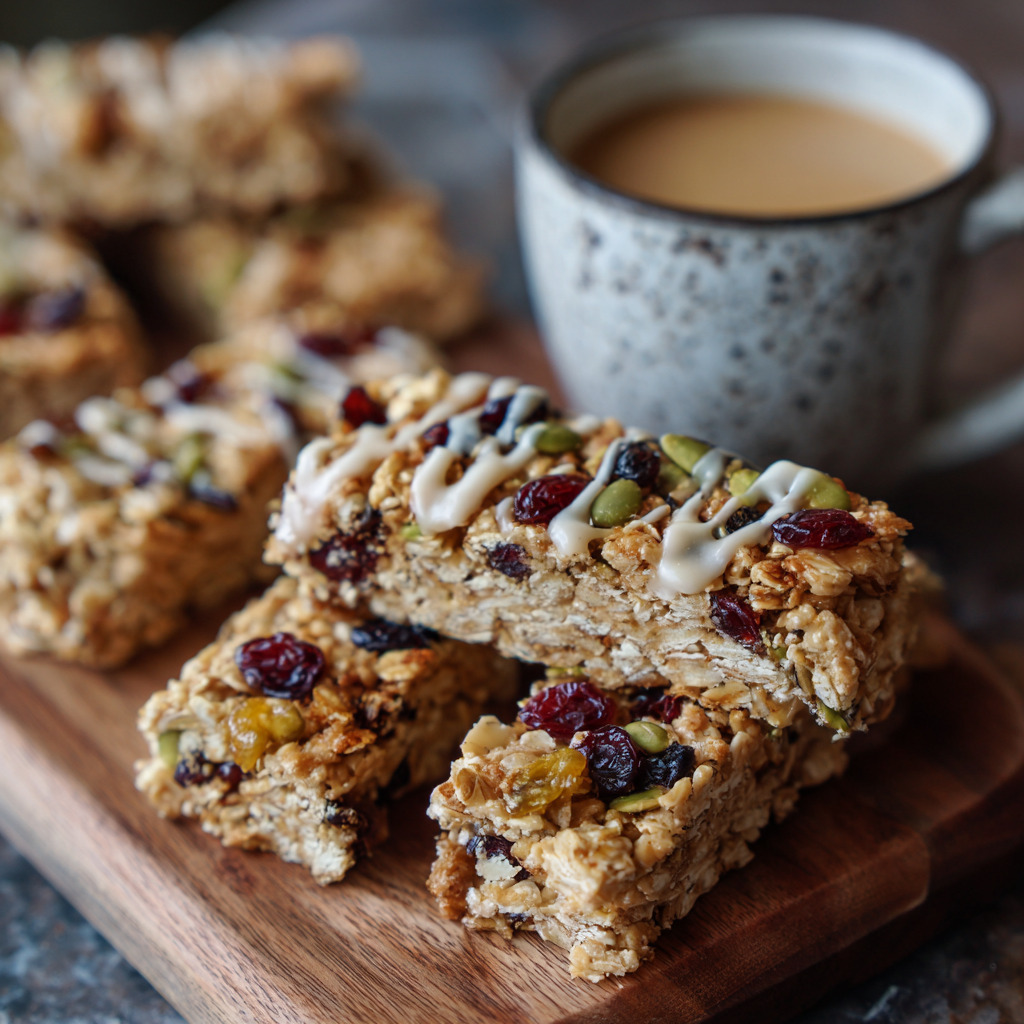
Homemade Granola Bars are crunchy, chewy energy bars made from oats, nuts, seeds, and natural binders like nut butter & honey. They’re easy to bake or press, customizable, and ideal for breakfast, snacks, or on-the-go energy boosts.
Why You’ll Love This Recipe
- Made with pantry staples and minimal prep
- Chewy texture with satisfying crunch
- Low in refined sugar, high in healthy fats & fiber
- Adaptable to dietary needs & flavor preferences
- Freezer-friendly & keeps well for a week in the fridge
Key Ingredients
Dry Ingredients
- 2 cups rolled oats (use GF if needed)
- ¾ cup mixed nuts & seeds (almonds, walnuts, pumpkin, sunflower)
- ¼ cup shredded coconut or dried fruit (raisins, cranberries)
Wet Binder
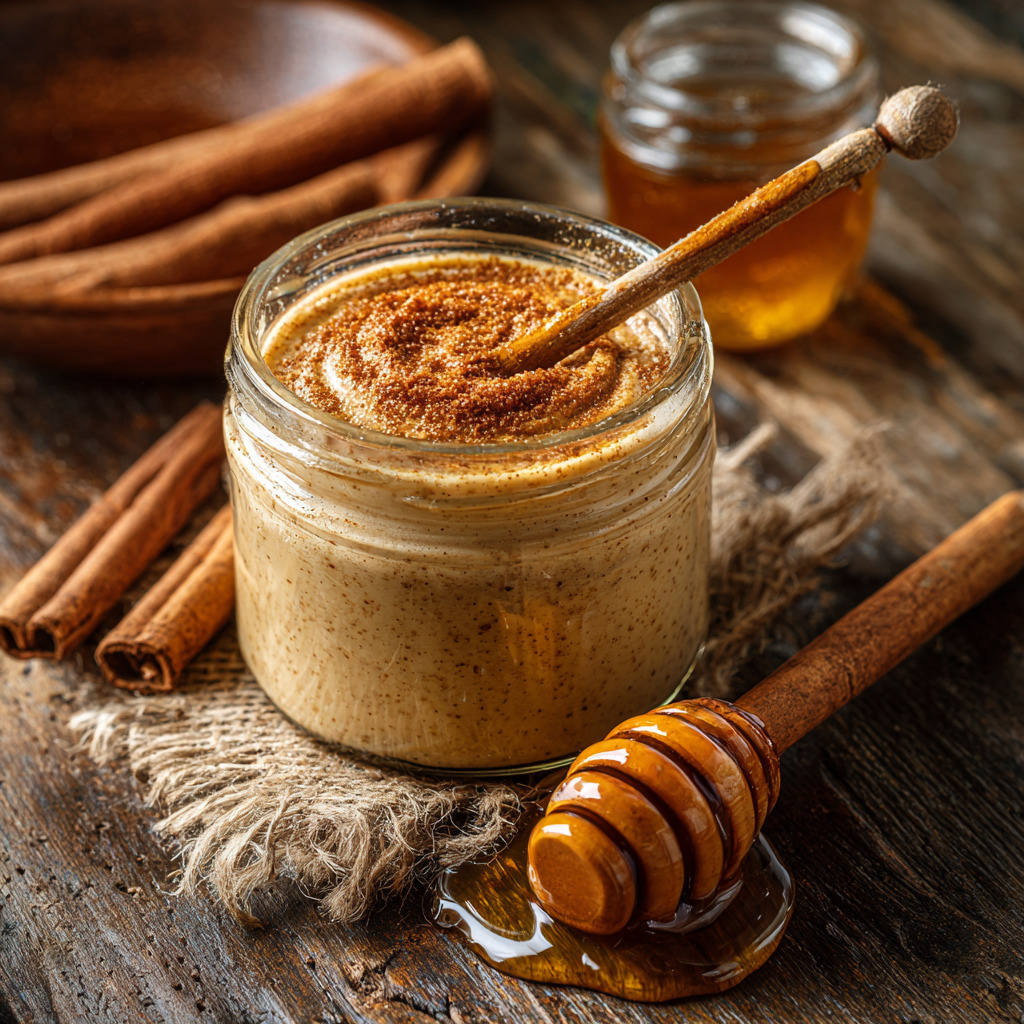
- ½ cup nut butter (peanut, almond, or sunflower)
- ⅓ cup honey or maple syrup
- 1 tsp vanilla extract
- Pinch of salt
Optional Add-ins
- Spices like cinnamon or ginger
- Mini chocolate chips or cocoa nibs
- Citrus zest or espresso powder
Tools Needed
- Mixing bowls & spatula
- 8×8″ baking pan or bar mold
- Parchment paper or silicone liners
- Saucepan (for warming ingredients)
- Measuring cups & spoons
- Oven or no-bake press (see Directions)
Directions
Step 1: Warm the Binder
In a small saucepan over low heat, melt nut butter with honey (or maple syrup), stirring until smooth. Remove from heat and stir in vanilla & salt.
Step 2: Mix the Dry Ingredients
In a large bowl, combine oats, nuts, seeds, coconut, or dried fruit. Add any spices or optional add-ins.
Step 3: Combine & Press
Pour warm binder over dry mix. Stir thoroughly. Press mixture firmly into a parchment-lined pan. Use a spatula or your fingers to compact tightly.
Step 4A: Bake Method
Preheat oven to 350°F. Bake bars 15–18 minutes, edges just starting to brown. Let cool fully in pan.
Step 4B: No-Bake Option
Seal pan with foil & weigh with cans. Chill in refrigerator 2 hours or until firm.
Step 5: Slice & Store
Lift out bars using parchment. Slice into squares or rectangles. Store in airtight containers for up to 7 days in fridge or freeze up to 2 months.
Cooking Notes & Common Mistakes
- Press very firmly—air pockets lead to crumbly bars.
- Warm binder helps soak oats fully; let it sit a minute if still cool.
- If bars are too dry, stir in a spoonful more nut butter.
- If too wet, add a bit more oats or seeds.
Serving Suggestions & Pairings
Pair bars with Greek yogurt and fresh fruit for breakfast. Slice thinner for snack boxes. They pair well with coffee, tea, or nut milk smoothies.
Variations & Customizations
Make it vegan & gluten-free: Use GF oats & maple syrup & seed butter
Make it spicy: Add cinnamon, ginger, or chili flakes
Make it dessert-like: Mix in chocolate chips or cocoa nibs
Make it tropical: Fold in coconut flakes & dried pineapple
Storage & Reheating
Keep bars airtight in fridge up to one week. Freeze extras, then thaw individually before grabbing. No heating needed—just grab and go.
Frequently Asked Questions (FAQs)
1. Can I skip nuts?
Yes—double seeds or add dried fruit to boost texture.
2. Do they stay together?
Only if pressed firmly and binder is warm. Chill or bake for best stability.
3. Can I make mini bars?
Absolutely—adjust pan size and cut into smaller pieces.
4. What if they’re too sweet?
Reduce sweetener or add more oats or seeds to balance.
5. Are they kid-friendly?
Yes—just leave out spicy add-ins and pack small portions.
Conclusion
Homemade Granola Bars are the food equivalent of a trusted friend—always dependable, made with care, and suited for wherever your day takes you. They travel, they fuel, they satisfy without weighing you down. I make them weekly so I always have a healthy backup ready.
Give them a try, change them up with your favorite flavors, and let me know on Savoryandtasty how yours turn out. Once you have bars that feel like home, you’ll find they’re pure gold on busy days and long journeys.
Homemade Granola Bars
Course: SnacksDifficulty: Easy12
servings15
minutes15–18
minutes33
minutesCrunchy, chewy granola bars made with oats, nuts, seeds, nut butter & honey. Bake or no-bake, customizable, and perfect for breakfast or snacks.
Ingredients
- Dry Ingredients
2 cups rolled oats (use GF if needed)
¾ cup mixed nuts & seeds (almonds, walnuts, pumpkin, sunflower)
¼ cup shredded coconut or dried fruit (raisins, cranberries)
- Wet Ingredients
½ cup nut butter (peanut, almond, or sunflower)
⅓ cup honey or maple syrup
1 tsp vanilla extract
Pinch of salt
- Flavor Add-Ins (Optional)
Spices like cinnamon or ginger
Mini chocolate chips or cocoa nibs
Citrus zest or espresso powder
Directions
- In a small saucepan over low heat, melt nut butter with honey (or maple syrup), stirring until smooth. Remove from heat and stir in vanilla & salt.
- In a large bowl, combine oats, nuts, seeds, coconut, or dried fruit. Add any spices or optional add-ins.
- Pour warm binder over dry mix. Stir thoroughly. Press mixture firmly into a parchment-lined pan. Use a spatula or your fingers to compact tightly.
- Preheat oven to 350°F. Bake bars 15–18 minutes, edges just starting to brown. Let cool fully in pan.
- Seal pan with foil & weigh with cans. Chill in refrigerator 2 hours or until firm.
- Lift out bars using parchment. Slice into squares or rectangles. Store in airtight containers for up to 7 days in fridge or freeze up to 2 months.